
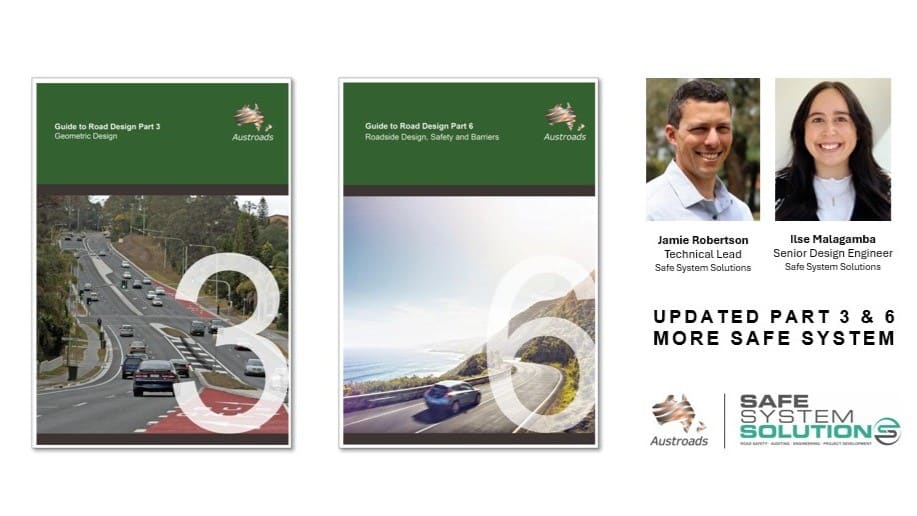
Austroads has recently released updated editions of two of its most widely used design guides:
- Guide to Road Design Part 3: Geometric Design
- Guide to Road Design Part 6: Roadside Design, Safety and Barriers
The Safe System Solutions team was heavily involved in these updates, working alongside leading technical experts from across Australia and New Zealand. Our Technical Lead, Jamie Robertson, was instrumental in developing both the updated median treatment advice and the new batter slope guidance. Senior Design Engineer Ilse Malagamba also made a significant contribution to the median treatment advice. The project also benefited greatly from the expertise and guidance of Rod Troutbeck and Mark Lensky.
Neither guide represents a complete rewrite. Instead, both build on previous editions by refining guidance in areas where practitioners have been seeking greater clarity and incorporating the latest research and industry experience.
Here are some of the key changes.
Part 3 – Geometric Design
A stronger Safe System focus
One of the most noticeable changes is the stronger integration of Safe System thinking throughout the guide.
Rather than treating Safe System as something to check at the end of the design process, the updated guidance reinforces that it should influence geometric design decisions from the very beginning.
“the view that something cannot be done to improve safety because it would negatively impact the efficient movement of traffic is not acceptable in a Safe System context and should be discouraged”
Expanded guidance on median treatments
One of the biggest practical additions is the significantly expanded guidance on median treatments.
The previous guidance has been developed into dedicated sections covering:
- narrow median treatments
- wide centre lines
- other median treatments
- selecting appropriate treatments for two-lane, two-way roads.
This better reflects the increasing use of centreline barriers and wide centre lines as proven Safe System treatments.

Clearer guidance on operating speeds
The updated guide also provides a better explanation of the relationship between operating speed, desired speed and design speed.
These concepts are often misunderstood, so the additional guidance should help designers make more consistent decisions when selecting design parameters.

Part 6 – Roadside Design, Safety and Barriers
Better guidance for narrow medians
Probably the biggest practical improvement is the expanded guidance around narrow medians which links to the updated Part 3.
There is considerably more discussion around:
- when barriers should be used
- the number of barrier runs
- where barriers should be located
- separation distances between opposing barriers.
Much of this is reflected in the updated Section 6.8.7 and Table 6.8, providing clearer guidance for constrained corridors and divided roads.

Lower-deflection W-beam and Thrie-beam barriers
One of the more useful additions is new guidance on lower-deflection W-beam and Thrie-beam systems.
These products have become increasingly common where designers need smaller working widths without moving to concrete barriers.
The Guide now better explains where these systems sit within the spectrum of barrier types and where they can provide advantages.
Updated guidance on concrete barrier working widths
The guidance on concrete barrier working widths has also been updated, incorporating more recent research on the Zone of Intrusion (ZOI).
Rather than changing the fundamental definitions of working width, the update provides a more contemporary understanding of the space a vehicle can occupy during an impact with a concrete barrier, helping designers make more informed decisions when determining the clearance required behind barriers.

More guidance on impacts with oncoming vehicles
The risk assessment methodology in Appendix B has been strengthened with additional information on impacts involving oncoming vehicles.
This includes updated discussion in Section B.3.1 and revisions to Table B.5, providing better treatment of opposing-direction crashes within the roadside risk assessment process.

Final comments
These updates are nicely stepping road design in the right direction. They are how good guidance should evolve.
Part 3 strengthens the application of Safe System principles within geometric design and expands guidance on median treatments and operating speeds.
Part 6 refines roadside barrier guidance using the latest research and practical experience, particularly around median barriers, lower-deflection systems and working widths.
We were particularly pleased to see the expanded guidance on median treatments and barriers. Safe System Solutions has undertaken a significant amount of work for Austroads in this space over recent years, so it’s great to see that work helping inform national guidance that practitioners use every day.
If you’re involved in geometric design, roadside design, road safety audits or Safe System assessments, it’s worth spending an hour reading through both updates. There are enough changes that it’s worth understanding what’s new before your next project.
Road Safety Barrier Design technical training
Check the Safe System Solutions website for dates for Road Safety Barrier Design technical training: https://safesystemsolutions.com.au/training-workshops/

———–
Follow Safe System Solutions Pty Ltd on LinkedIn for more updates and road safety industry news.